Techniques and applications
Stainless steel engraving: contrast, size and finish
Define the purpose, surface and viewing conditions before choosing a stainless steel marking specification.
Stainless steel engraving: define the marking’s purpose
A stainless steel marking depends on more than the laser file. Surface, placement and viewing conditions matter equally. Choose a logo for appearance and a part number for legibility. A dark mark is not automatically a deep engraving.
A brand detail and an identification code need different choices
A subtle gift logo may blend gently into the product. A workshop part number needs contrast and a logical position. Define who reads it and where: held in the hand, installed, in daylight or under work lighting.
Distinguish essential from supporting information. Prioritise a daily-used product number over a long company name. A logo can use another position. Two well-chosen marks may be more functional than one crowded area.
For your own component, a photograph in its normal use position helps. A surface accessible on a loose product may disappear behind a bracket after installation. Say whether the component is supplied before or after assembly.
Brushed, polished or coated
Brushed stainless steel has a visible grain direction. Texture and lighting affect contrast. Polished steel reflects more strongly; a design readable from one angle may be less clear from another. Do not judge the product from a single close-up photograph.
Specify coatings, paint or other surface treatments. Processing a top layer does not automatically give the same result as bare stainless steel. Stainless steel alone is not a complete material specification; provide grade or article details when known.
Identify components from different manufacturing batches. Finish differences may remain visible with the same design. Keep a reference example alongside the original product specification for repeat work.
Engraving and dark surface marking differ
Engraving removes material. Annealing creates a colour change through local heating, without aiming for a tactile recess. On a coated product, the process may affect the top layer instead. These processes produce different effects.
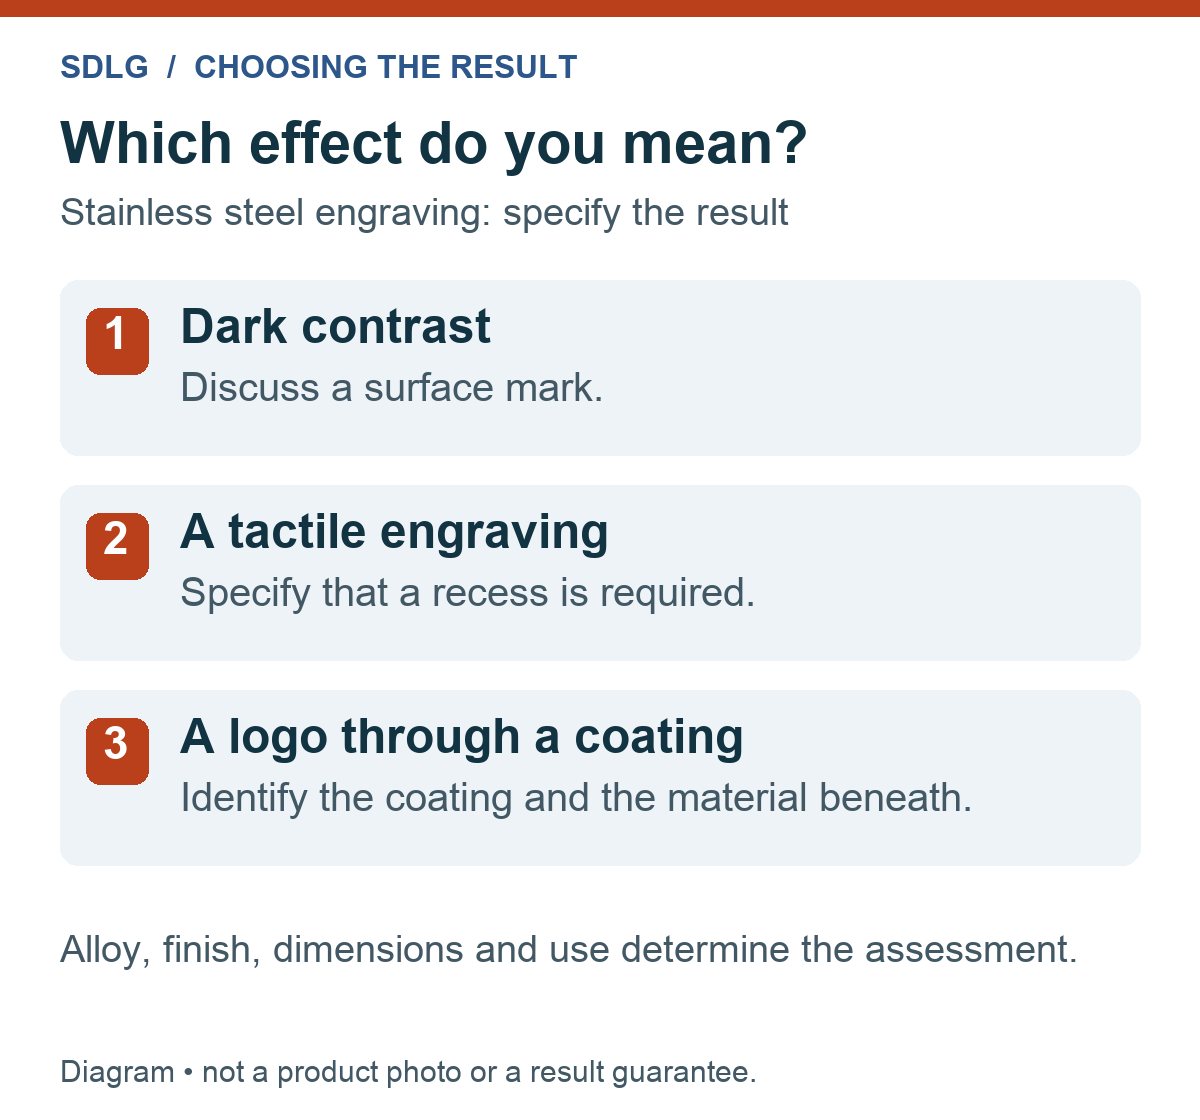
Describe the final result instead of asking only for black engraving: dark contrast, a subtle logo or a specific reading function. Not every steel, surface and design combination gives the same colour. A photo of another material is a discussion reference, not a colour guarantee.
Heat and processing can affect surface properties. Special cleaning, hygiene or resistance requirements need specific material and process assessment. A visible marking alone does not establish corrosion resistance or certification.
Process background: Trotec on annealing and how it differs from material-removing engraving. SDLG assesses the actual options for each product.
Make the design readable at actual size
Print the layout at actual size or view a scale-accurate representation. Check small letters, narrow openings and distinctions such as O and 0. An intricate symbol can close up when reduced; a simpler logo may work better.
- Measure available space in millimetres.
- Choose the information that must remain readable.
- Give letters and edges adequate room.
- Record position and reading direction on a marked photograph.
- Discuss an appropriate trial when the result is critical.
Curved products also depend on curvature and access. SDLG’s separate fibre laser for smaller metal items has a 120 × 120 mm work area. This is not a maximum product size: shape, height and clamping determine access. The other laser’s confirmed working area is 910 × 610 mm. Suitable cylindrical products use a rotary, with maximum diameter 130 mm, subject to shape and positioning assessment.
A QR code also needs checking on the actual product with the intended reader. Explore QR code and barcode engraving . Do not apply one fixed minimum code size without considering material and encoded content.
Assess the result in actual use
A practical assessment goes beyond appearance. Check correct text, position, contrast and reading under normal lighting. With several positions, check relative orientation too. Record the approved example and data version.
If the product cannot or must not be processed directly, a separate identification plate may be a better approach. Discuss material, data and fixings together, particularly when a marking needs to be replaceable later.
A coating is not bare stainless steel
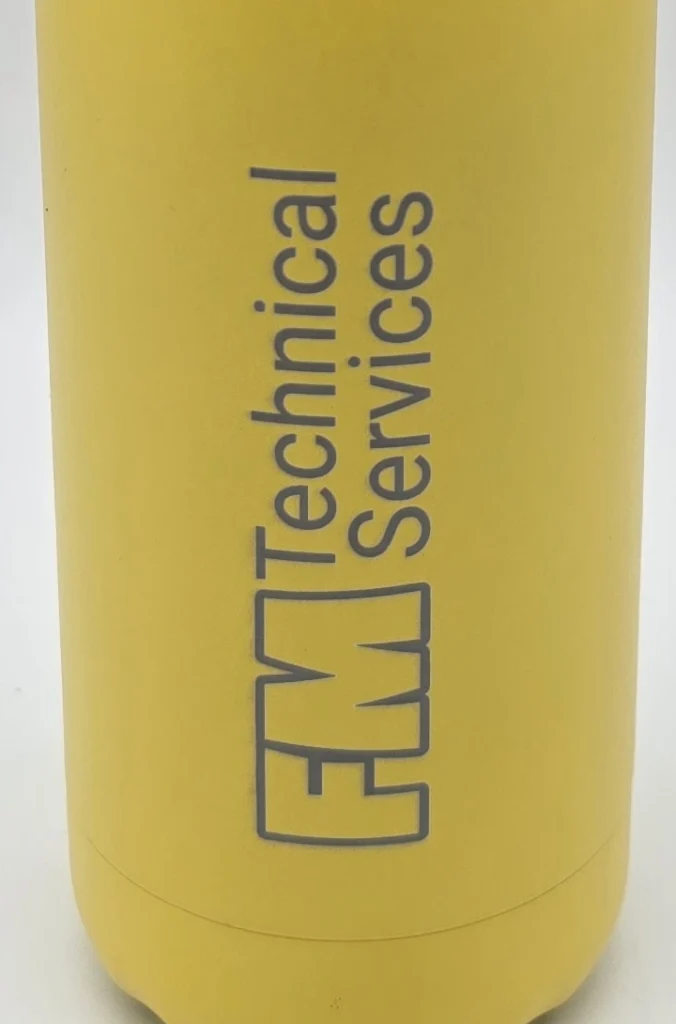
The FM Technical Services bottle logo was engraved through the yellow coating. This is an example of coating removal, not marking bare stainless steel. Specify whether your enquiry concerns a coated product or an uncoated stainless steel surface.
Frequently asked questions about stainless steel engraving
What should I specify for dark stainless steel engraving?
Explain whether dark contrast is sufficient or whether the text must be recessed. Include a reference photograph plus your product’s known alloy and finish. This prevents different marking processes being treated as the same requirement.
Why does this article show a yellow insulated bottle?
For FM Technical Services, the yellow coating was locally removed. This real project illustrates the difference between processing a coating and marking bare metal. It does not establish a particular result on your uncoated stainless steel part.
Can I include brushed and polished parts in one order?
You can submit both for assessment. Identify each finish and explain whether matching appearance matters. In stainless steel engraving, surface and lighting can change the appearance of the same design; agree a reference for each version.
How can I assess small wording before the whole batch?
Show the layout at its intended size and identify the smallest characters that must remain legible. For a trial, agree lighting, reading distance and product position. A highly enlarged screen view is not enough for that assessment.
Should I describe use and cleaning in the enquiry?
Yes, especially where the part has specific requirements. Describe the conditions and provide available product information. Legibility and application requirements belong in the assessment; a general engraving photograph cannot replace those details.
Stainless steel engraving: what details does SDLG need?
Send photos, dimensions, quantity, known grade and surface treatment. Include text or logo and intended placement, plus use, cleaning and required receipt date. For products you supply we agree suitability and supply arrangements beforehand.
Under stainless steel engraving the proposal reflects product and specification. Preparation, size, number of positions and quantity all matter; item count alone does not explain the whole job.
Have your stainless steel product assessed ↗
SDLG works from Breda and ships products throughout the Netherlands and Belgium. Discussions, drop-off and collection are by appointment. See our contact details and directions.
Production and delivery
Lead time: 1–5 working days, subject to stock availability. For larger projects, we agree the lead time individually. The schedule is confirmed after checking stock and the proposed work. Shipping transit time is separate. Delivery and shipping guidance.